Congratulations on your new interlocking concrete pavements! When you’re ready to install, follow these steps for a smooth, uniform look.
Tools Needed:
- Wooden Stakes
- Wide blade masons chisel
- Masons string ( twine)
- Stiff bristle street broom
- -5lb. rubber hammer
- Hard tooth garden rake
- Chalk Line
- 25’ ft. measure tape
- 1” diameter sand screed guides (pipe, wood, etc.)
- 6’-8’ ft. 2” x 4” or 2” x 6”
- Small pry bar
- 4 ft. Level
- Wheelbarrow
- Flat shovel
Equipment:
- 3hp to 5hp plate compactor ( not a jumping jack)
- Mason Diamond Saw
- Block/ Paver splitter
Installation:
First measure area you intend to pave. Determine the square footage by multiplying ( length x width= square footage) and add 5% for breakage. Measure lineal feet of open edges and the lineal feet will indicate the PAVE EDGE required. Draw a plan that shows all of the important dimensions and then take this plan to your supplier so that they can help you determine the amount of materials needed for your project.
Use the 3-4-5 triangle method to determine a perpendicular line and then measure parallel lines from the perpendicular line to find a boundary. Place stakes at every 4-6 feet and at corners. These stakes should be 8” outside of the edge of the pavers.
Excavation:
Note: Before any digging, call your local utility companies to locate any underground lines.
Use a flat shovel to cut evenly to remove sod/dirt to a depth of at least 7” to allow room for a 2 ⅜” paver, compacted sand, and a minimum of 4” compacted crushed stone base. If your house has a new foundation, we suggest you increase base thickness to 6” or a total excavation of 9” within 2 ft. of new foundation. Excavation should be 6” wider on sides where the paved edge restraint is to be used.
Base Preparation: Use either ¾” or ½” graded base material that includes sizes down to fine dust.
Method of Compaction: Run your plate compactor over the excavated soil ( the soil should not get stuck on the bottom of the plate compactor). Each pass should overlap the previous one by 4”. Next, spread your gravel base material out evenly in about 2” layers.
Start around the outer perimeter with the plate compactor and again overlap each pass about 4” working towards the center. You should make at least two passes for each layer. Use the hard tooth garden rake to smooth out any unevenness. When you are finished with the base, there should be no more than ¼” maximum gap anywhere along the straight edge and the base.
Slope and Grade:
It is best to plan a ¼” per foot drop, but try not to exceed ½” per foot.
Sand Setting Bed- ASTM C33: Lay your screen guides ( 1” electrical conduit, 1’ strips of wood or other suitable rigid 1” guide) 4’ ft to 6’ ft apart and parallel. Work from side to side with your screed guides, screed a 10’ section of sand. You will use the 6’ ft. to 8’ ft 2” x 6” to loosely spread the sand and to strike off any excess.
- Do not walk on your screeded sand. You will fill the voids with sand and trowel them smooth as you are laying the pavers.
Laying the Pavers ( for small areas only)
Starting from a permanent edge, lay your first paver starting from either side ( as you lay your pavers, work right to left, then left to right and so on, one row of pavers at a time). Set the pavers lightly on the sand and allow 6” to pave edge on the open sides later. If you are starting with pave edge, run a string line across the front of the playing edge every 4’ ft.
Set the pavers hand tight, but do not use a hammer to adjust the pavers or set them.
Cutting the Pavers: You will need to cut the pavers if you have to go around a post or come up against an existing structure or where a radius is desired. You do not need to cut on sides where pave edge is installed. Mary any stones to be cut with a crayon or chalk and allow for up to ¼” gap between the stone and the edge. This will be filled with sand later. You should use either a diamond blade mason saw or a paver splitter.
Pave Edge Installation
- Before Sand Screeding: Snap chalk line on base material before you screed sand if you are going to start laying your pavers from a pave edge line first. Spike edging so that the chalk line remains visible. Spike every two feet with 10” x ⅜” diameter steel landscape spike.
- After Pavers Have Been Laid: Finish placing the pave edge spikes. First, use a trowel and cut straight down the side of the pavers into the sand down to the base ad pull back the sand. Be careful not to scrape up the base material. Placing the edging flat onto the base, push pave edge frost heave lip under the sand, using a hammer to tap against the back of the pave edge until the edging is tight to the pavers. Now, spike the edging approximately every two feet. Pound the spikes in until the head of the spike is touching the edging.
- Use Pave Edge Rigid for Straight Areas
Use Pave Edge Flexible for Curved Areas ( The Final Step)
- Sweep any debris or loose sand off of the Pavers
- Using a vibratory plate compactor, 3 HP to 5 HP, you should make at least two passes over the pavers. Starting around the perimeter and working inward overlap each pass 2” to 4” inches. Make the second pass at a 45 degree angle to your first. The first pass of the compactor will accomplish:
- Level the Pavers, compact the sand bedding, and force sand up into the joint
- Use a dry medium or coarse washed sand for the joints, spread a thin layer of the jointing sand over the surface. Use a stiff bristle street broom and sweep back and forth over the entire pavement until sand has stopped filling into joints.
- Now, alternating between compacting and sweeping, continue to work the material into the joint. If when you make a pass with the plate compactor and no more joints open up, you are then finished.
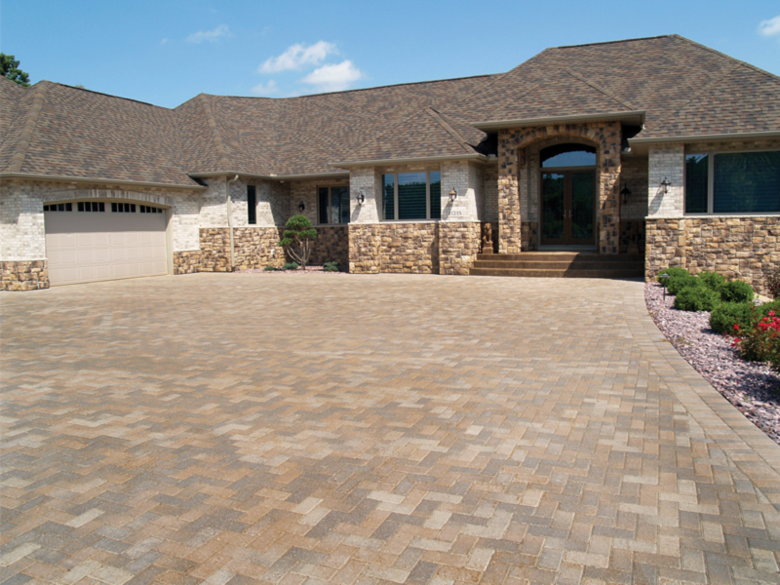
Congratulations! You have now installed a high quality pavement for your patio or walkway. For maintenance see icpi.org
Borgert is a family-owned company specializing in pavers, patios, driveways and retaining walls. We are based in Minneapolis and serve the entire Twin Cities metro area and beyond. Since 1923, we have been committed to providing high quality products that help our customers dream landscapes become a reality. Get a quote today on your Borgert products.