efflorescence

Efflorescence on Interlocking Concrete Pavers

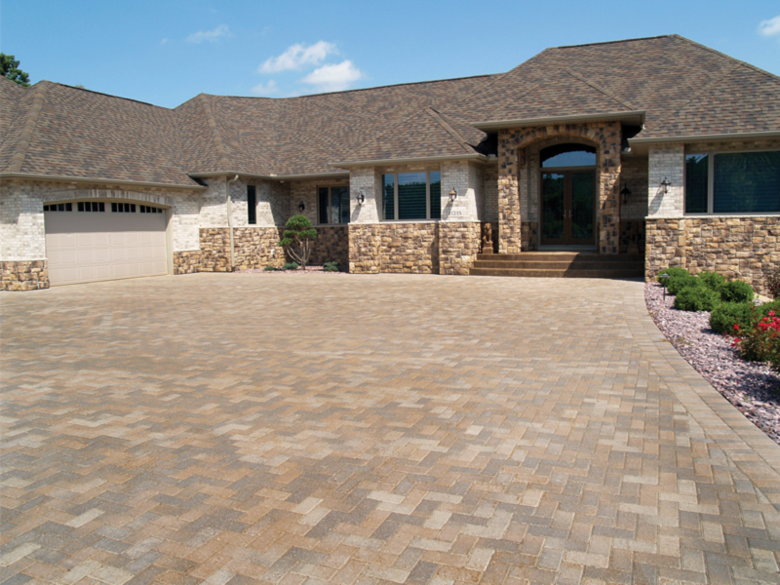
If you’ve ever installed interlocking concrete pavers, you may have noticed a white film or haze on the paving stones. This is called efflorescence, a naturally occurring process in any concrete. There is no need for alarm: it does not affect the structural integrity or longevity of the pavers, and it is easy to remove.

What is Efflorescence?

Technically referred to as calcium hydroxide, efflorescence is a product of several different sources. It is carried to the surface of concrete pavers by moisture. There are admixtures used in the manufacturing process to inhibit efflorescence, but there is nothing available to eliminate it. It appears randomly – any concrete can have efflorescence. But it appears more pronounced on concrete paving stones, because it can be seen more easily on colored concrete.

Efflorescence Fades Naturally

In many cases, efflorescence is naturally scoured off as the pavers are compacted during the installation process. If that doesn’t happen, it generally lessens or dissipates completely over time, due to weather and general wear.

Specialty Cleaners Will Speed Removal

For faster removal, Borgert offers cleaners that are specially made for concrete paving stones. This mildly acidic product is safe and product instructions are easy to follow. Borgert recommends that you first use the cleaner on an inconspicuous area, so you know how it works before undertaking the whole project. An important detail: there are several products on the market to remove efflorescence from pavers. Make sure that you use products made specifically for interlocking concrete pavers.

If you have any questions about efflorescence or how to remove it, get in touch.


Borgert is a Minnesota-based, family-owned company specializing in premium concrete pavers and slabs for patios and driveways, and walls square and round fire pits. We also offer The King of Hearths outdoor fireplaces and ovens. Since 1923, we have been committed to providing high quality hardscaping products that help our customers’ dream landscapes become a reality. Get a quote today on your Borgert products.

Read more

Hardscaping vs. Softscaping: What’s the Difference?

When embarking on a landscaping project, it’s important to understand the different design elements that go into outdoor living spaces, and how they interplay with one another. These elements generally fit into one of two categories: hardscaping and softscaping.

While these may seem like obscure industry terms, it can be useful to understand the difference between the two. This will help homeowners and designers create an appropriate design for the space, using hardscaping and softscaping elements appropriately and in concert with one another to create a fully functional landscape.

We’ll begin with basic definitions.

Hardscaping:

hardscaping

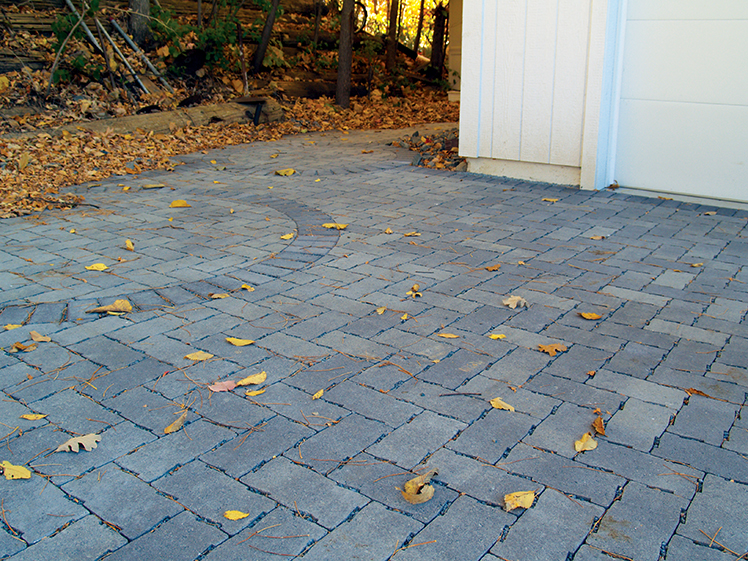
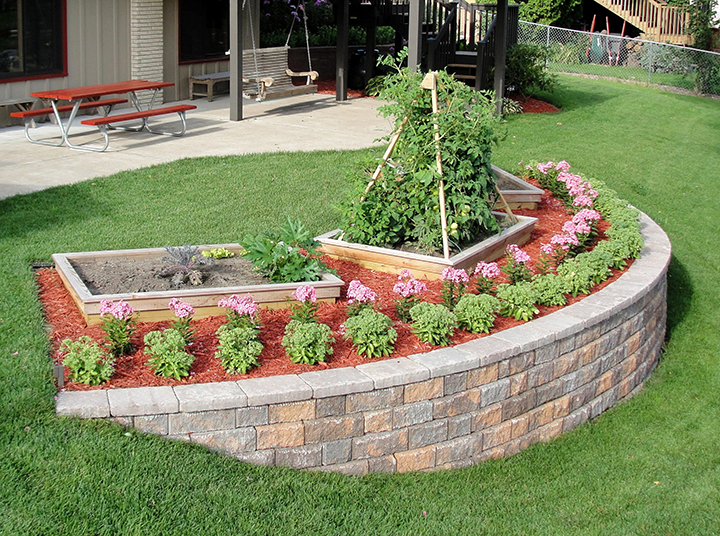
The Spruce defines hardscaping as the “non-living elements” of landscaping. This includes paver patios, retaining walls, driveways, fences, benches and the like. Generally, hardscape elements are more practical (patios, fences) but can also be decorative (benches, pergolas). In addition, features such as outdoor fireplaces or water fountains are included under the definition of hardscaping.

Softscaping:

In comparison, softscaping refers to the living, horticultural elements of landscape. Ultimately, softscape means plants – from grass and shrubs, to annual and perennial flowers, and even vegetables in a garden.

The challenge of creating an effective landscape design is figuring out how to mix hardscape and softscape elements together to create a cohesive, functional outdoor space. The two complement each other well – for example, softening the appearance of a fence with tall spring bulb plants, or covering a wall or pergola with vines for a lush, earthy effect. One easy way to mix hardscaping and softscaping is by placing container plants on the edges of a patio. The possibilities are truly endless!

To find out how Borgert Products can help make your hardscaping vision come to life, visit our product galleries or contact us for more information.

Borgert is a Minnesota-based, family-owned company specializing in pavers, patios, driveways and retaining walls. Since 1923, we have been committed to providing high quality products that help our customers dream landscapes become a reality. Get a quote today on your Borgert products.
Read more

Patio Inspiration: Kastle Flats

Our outdoor living spaces are true extensions of our homes. We eat and entertain on patios, laying poolside and hosting friends on warm summer nights. So why shouldn’t a patio be stylish? With Kastle Flats slabs, that is easily achieved.

Borgert Products’ Kastle Flats bridges the gap between modern and contemporary, bold and classic. With three available sizes and two color families, this distinctive slab creates endless possibilities for a custom design. The large scale and light texture makes a Kastle Flats patio or walkway unique and memorable.

We’ll share a few photos of our favorite Kastle Flats patios below. For more, including pattern examples, visit the product page, idea gallery, or check out our latest catalog.

The Right Shade

Kastle Flats

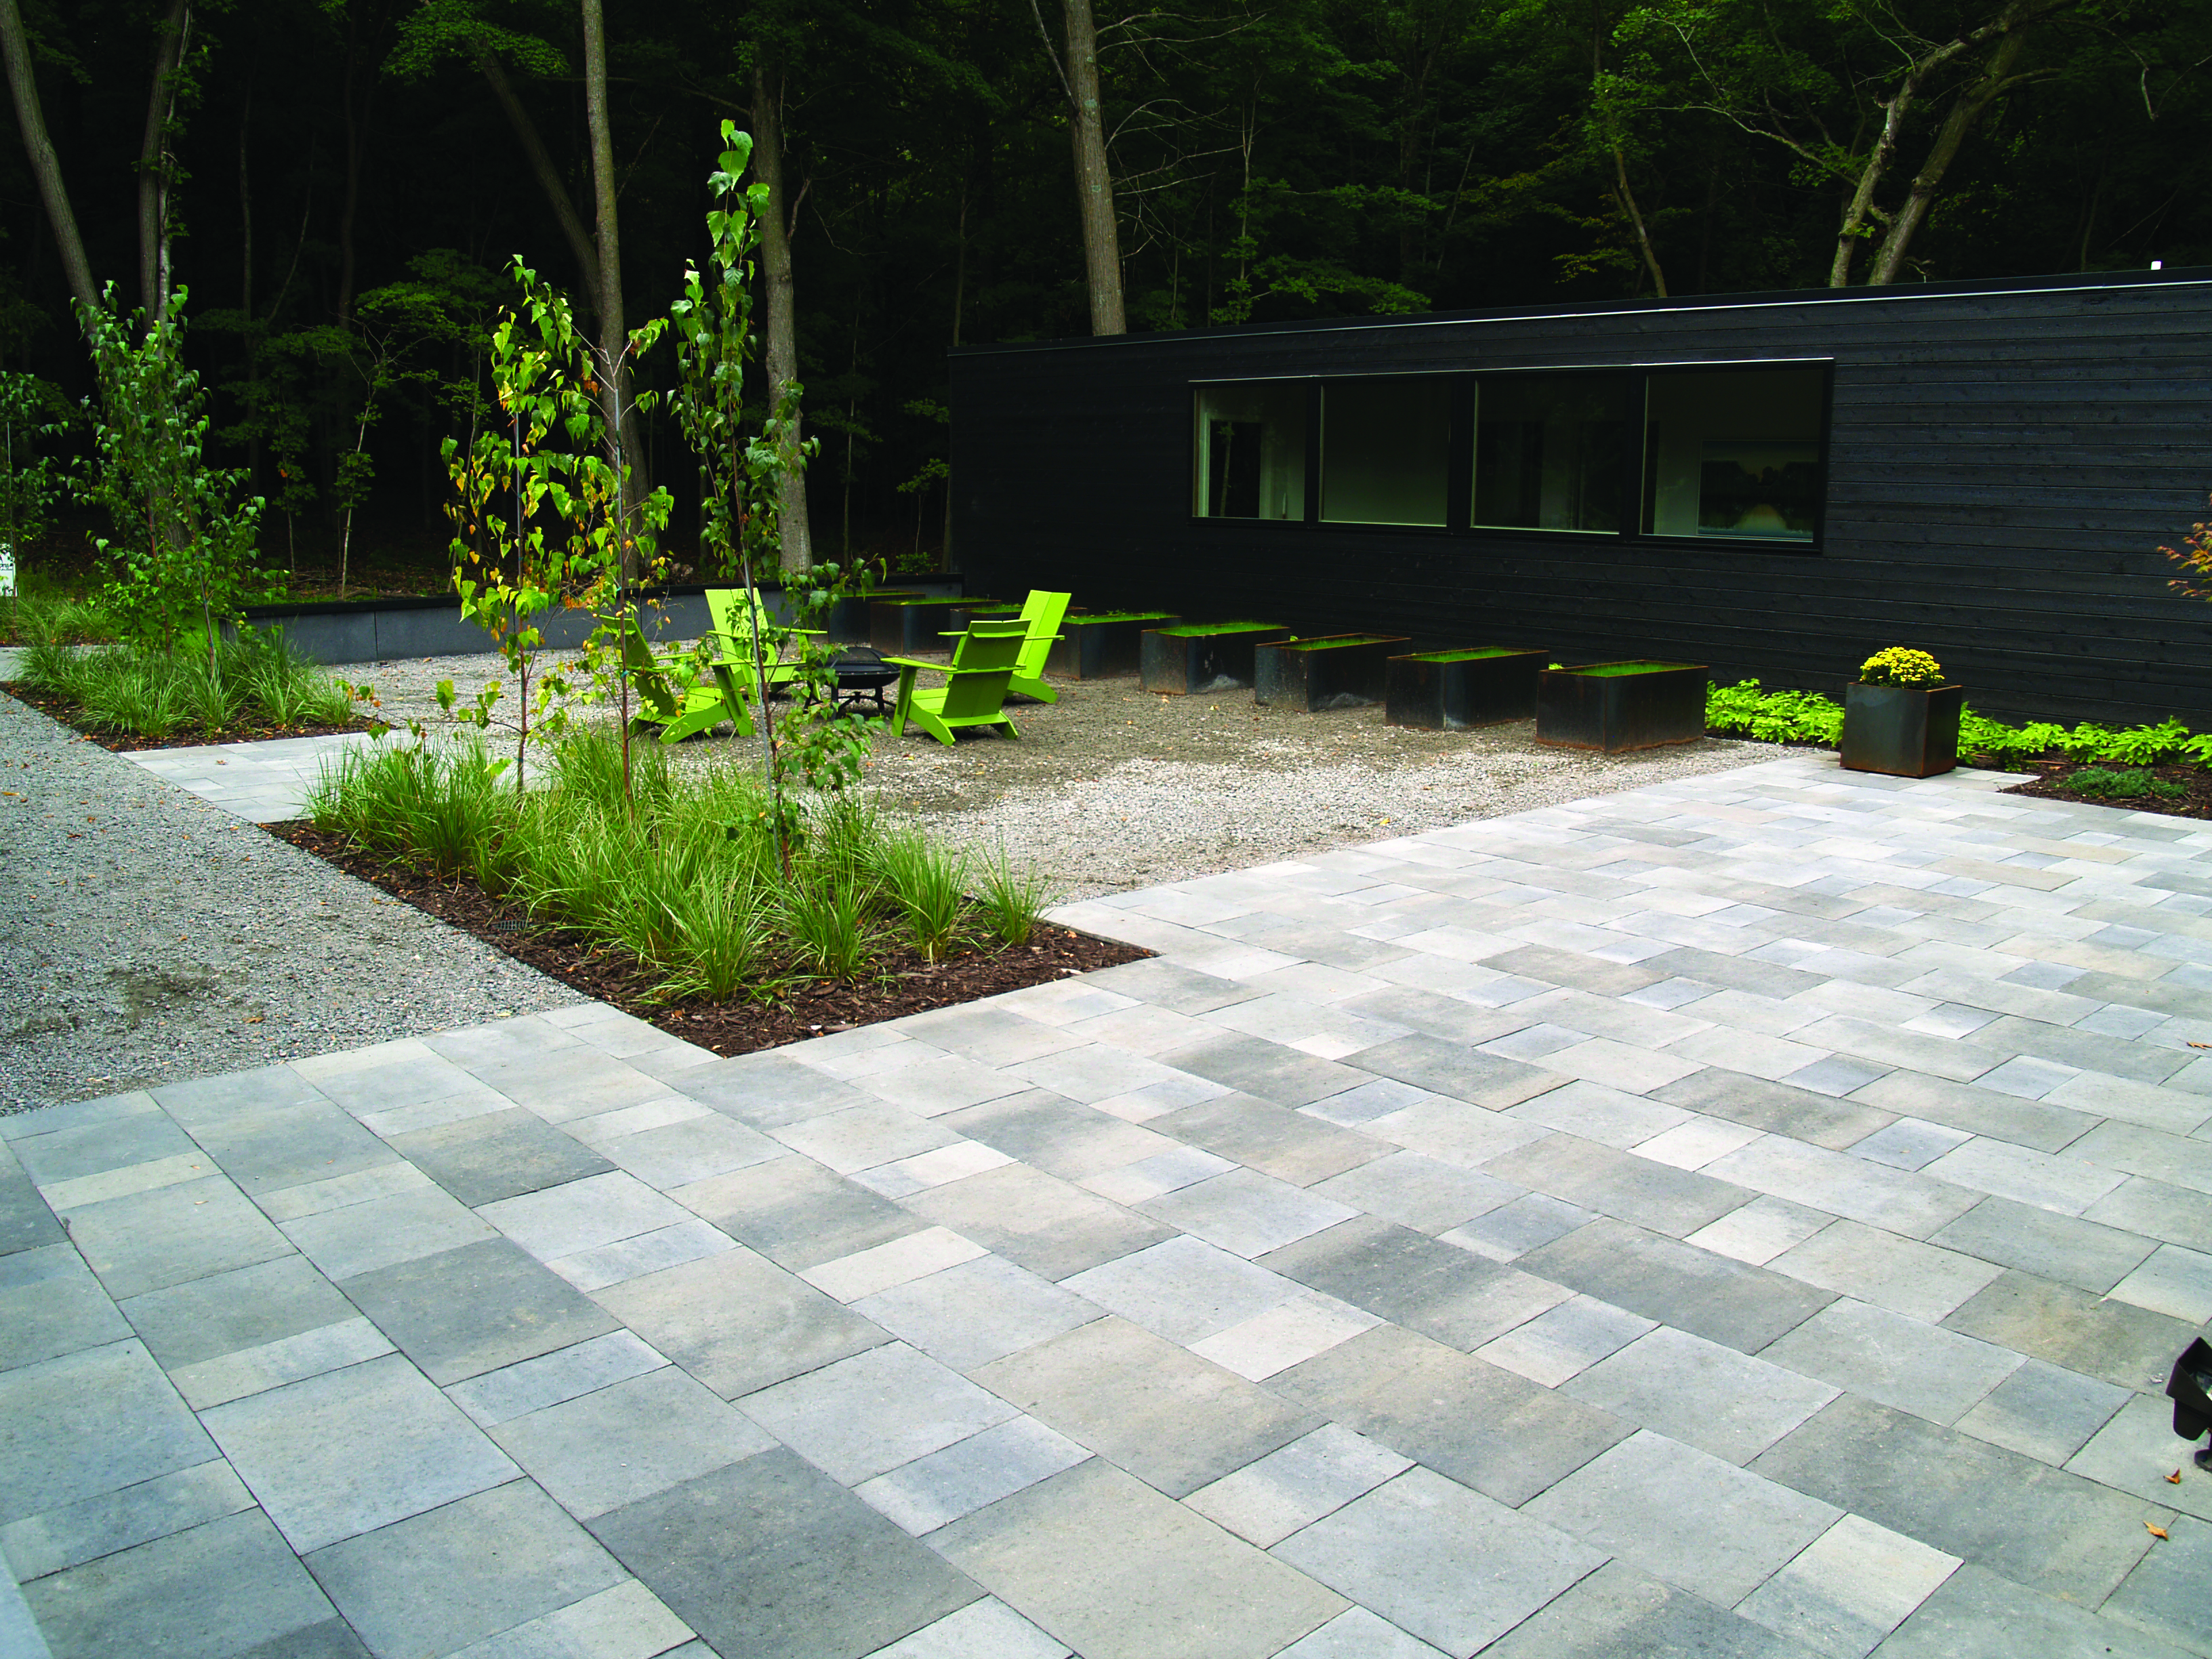
Kastle Flats is available in two shades: Sterling Gray in gray tones and Classic Bronze in brown tones. Here, Sterling Gray was used to perfectly complement the black building and the gray rock, creating a cohesive – and stunning – look.

A Unique Pattern

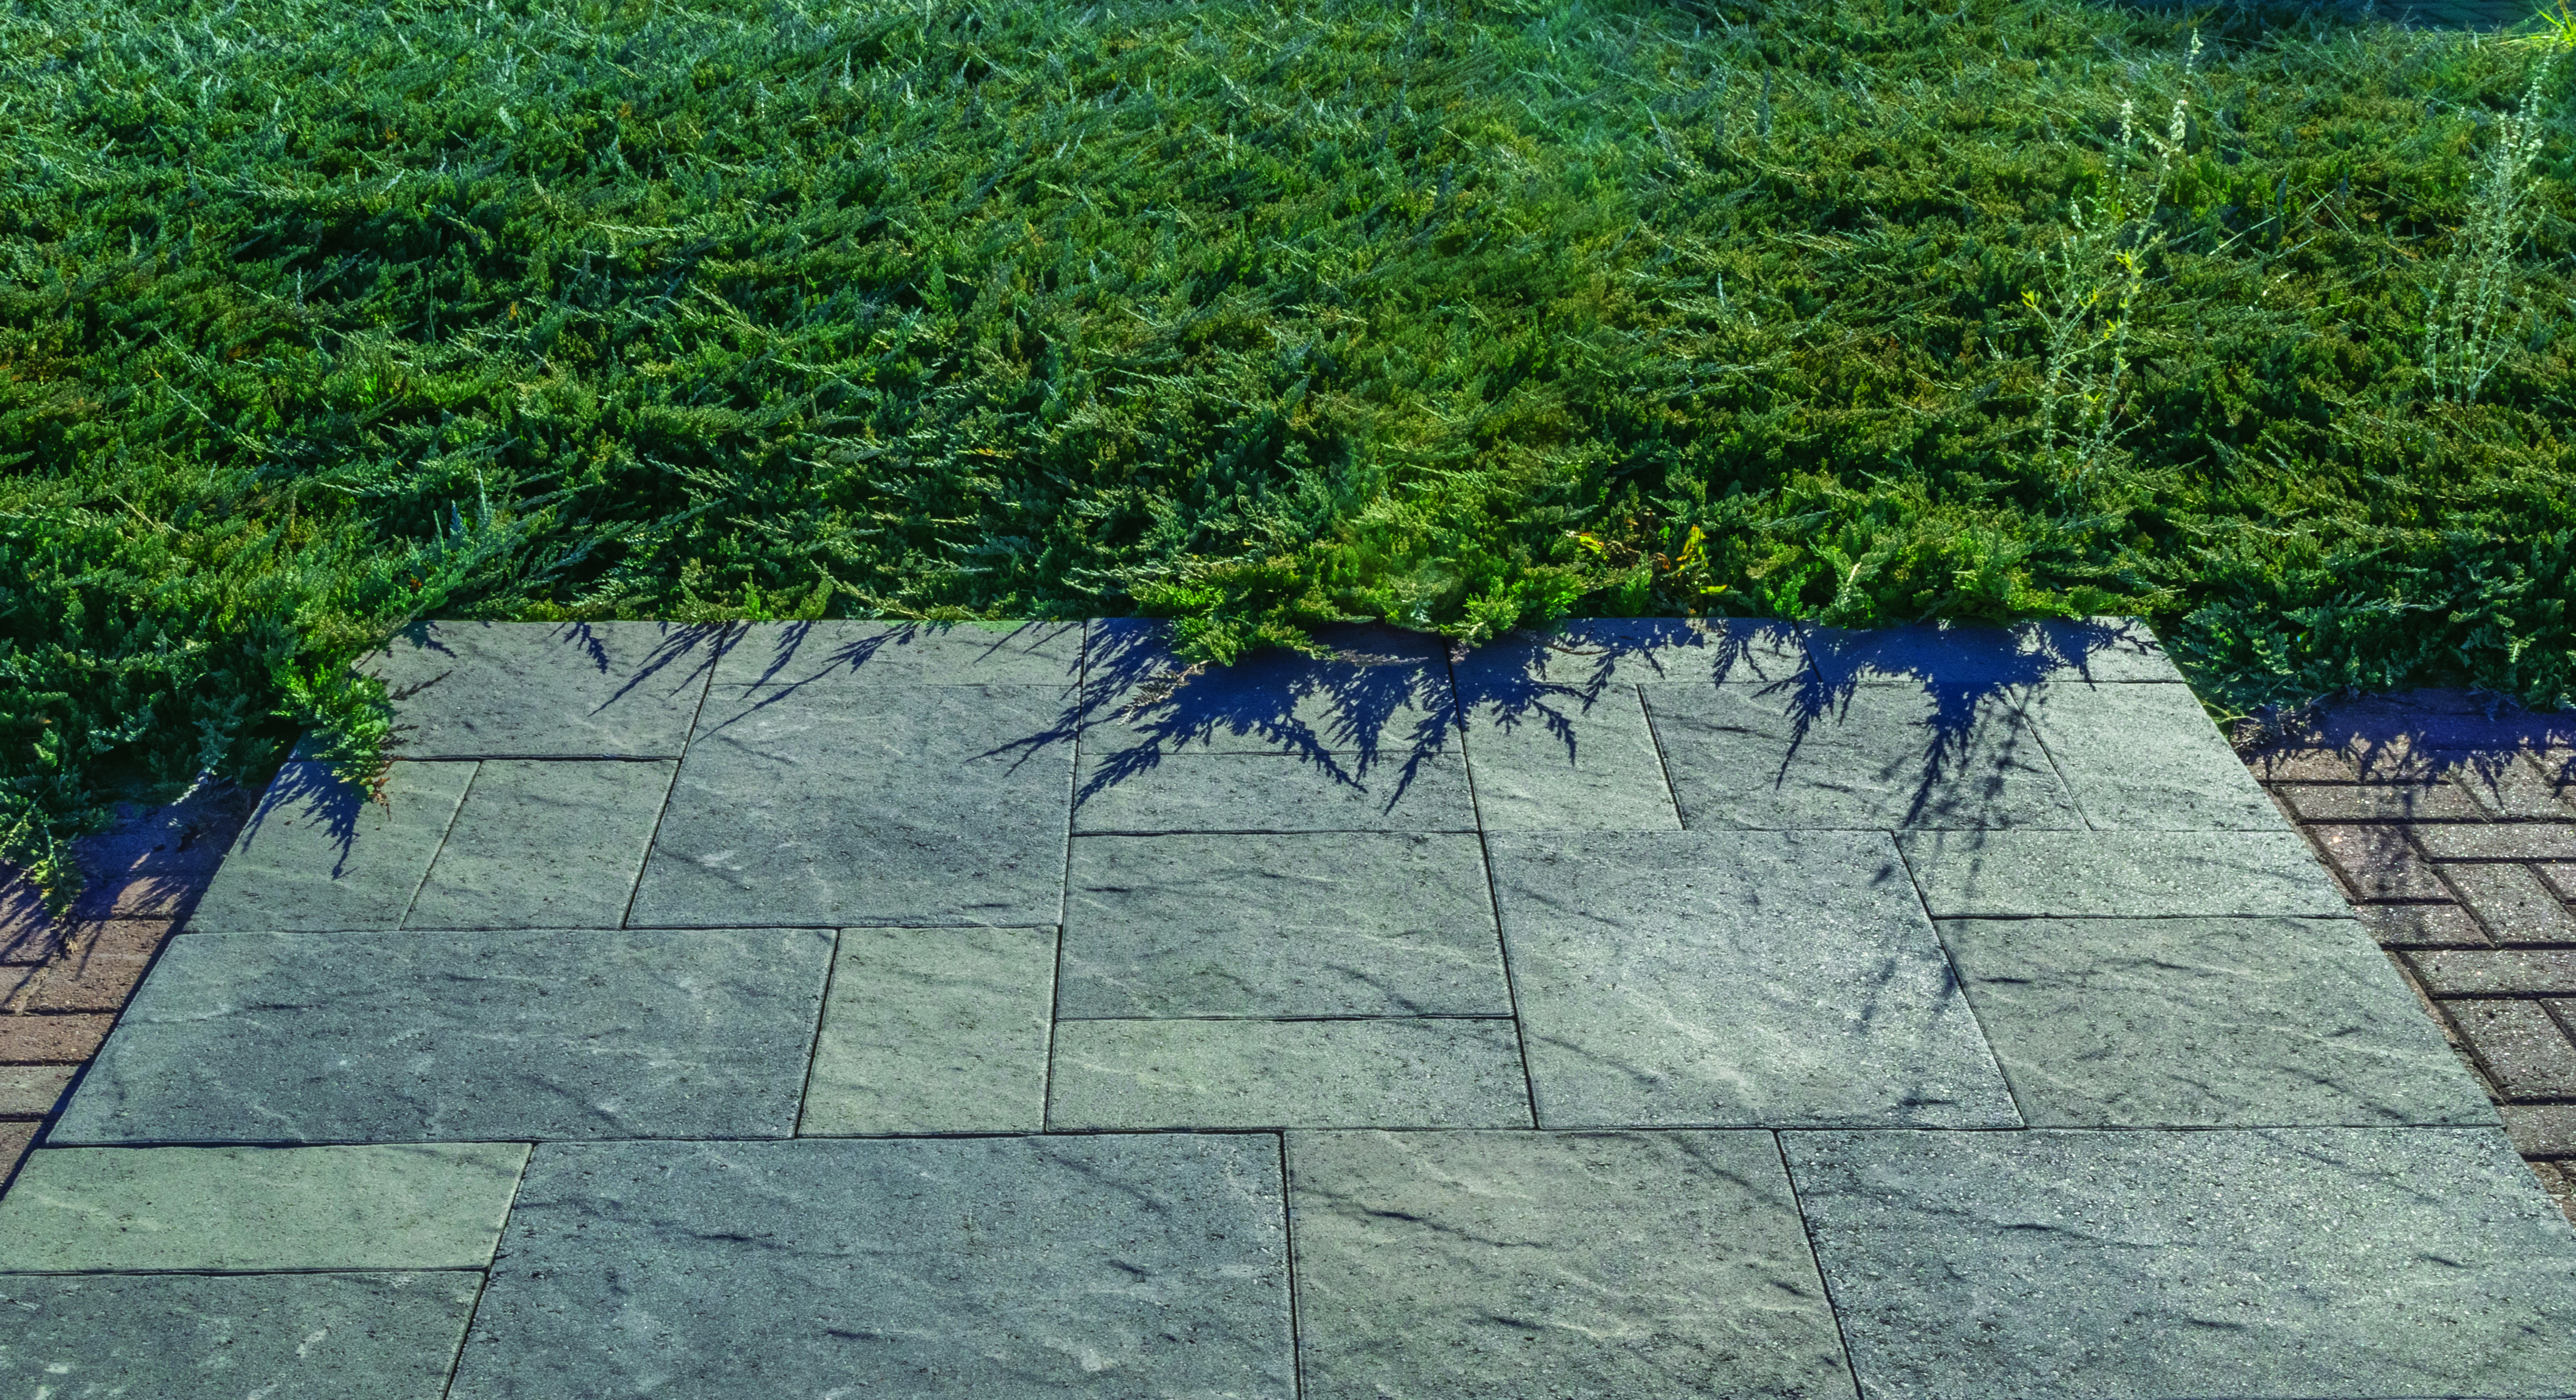
This close-up shows one of the many patterns that can be made with Kastle Flats slabs. Mix and match the three available sizes – 8×16, 16×16 and 16×24 – for a one-of-a-kind design.

Large Scale Projects

In larger projects, such as this expansive patio and walkway, small pavers could appear too busy and actually make the space look smaller. Kastle Flats’ slabs fit the large space more comfortably.

Perfect for the Pool

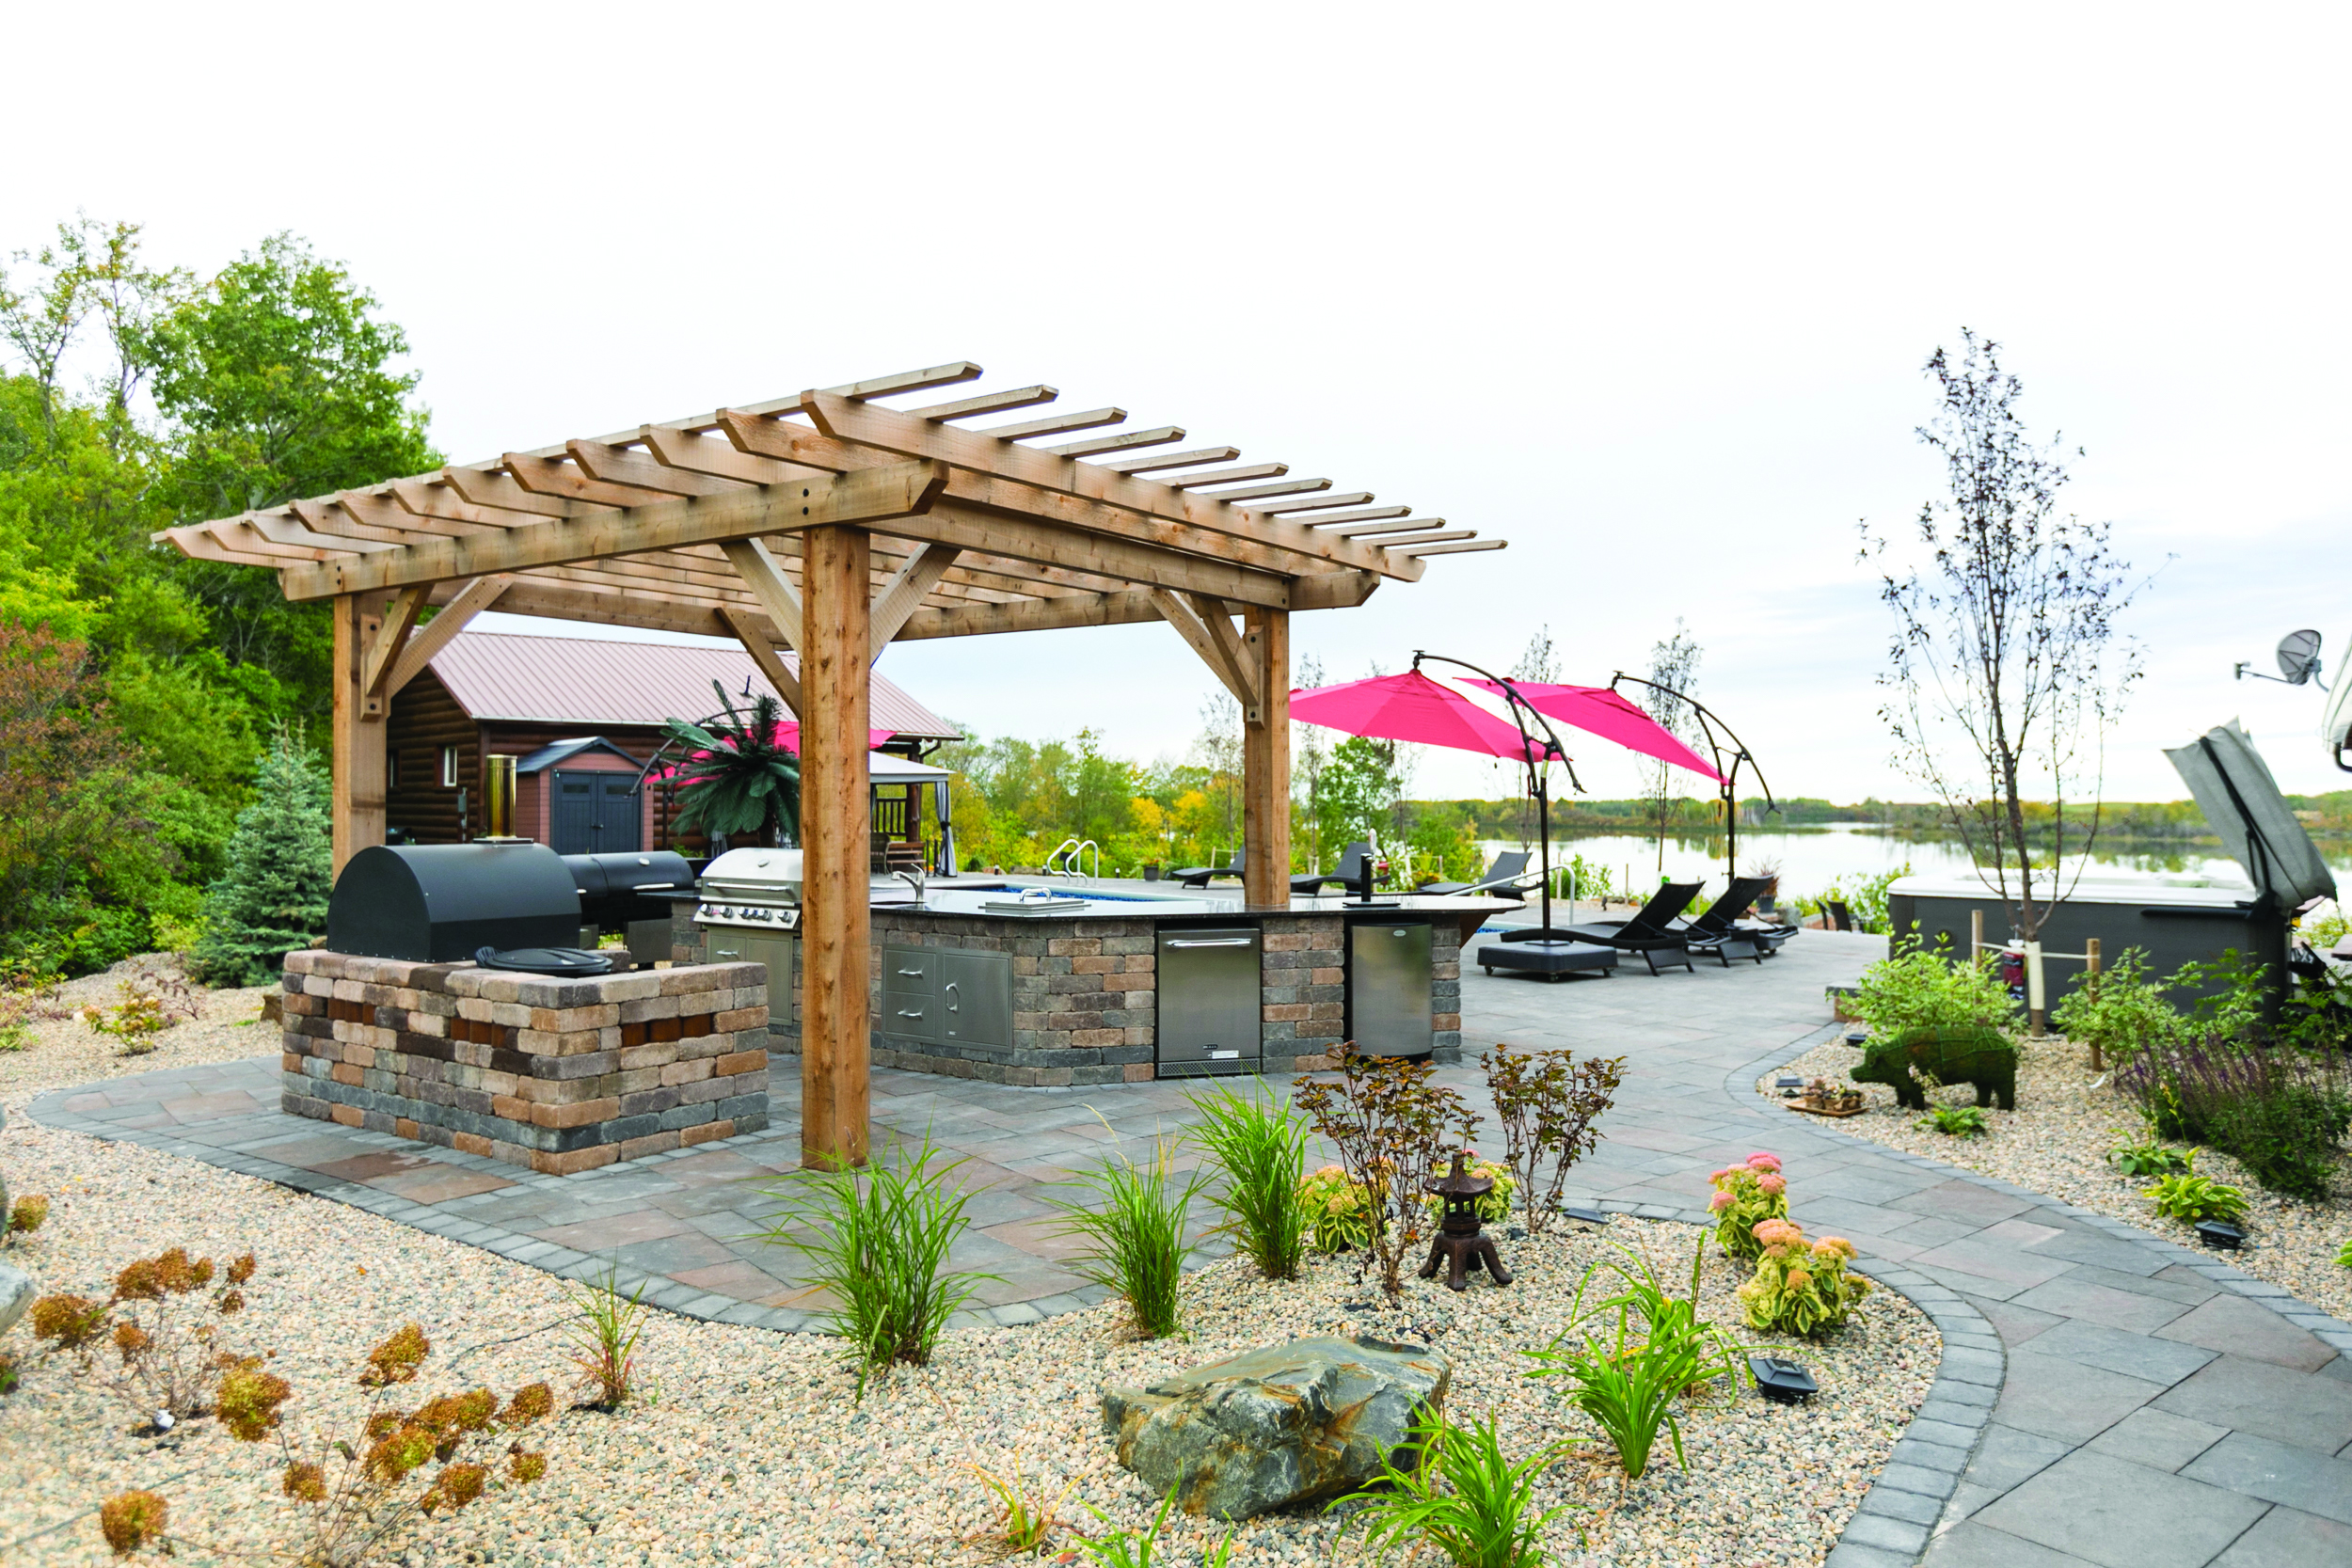
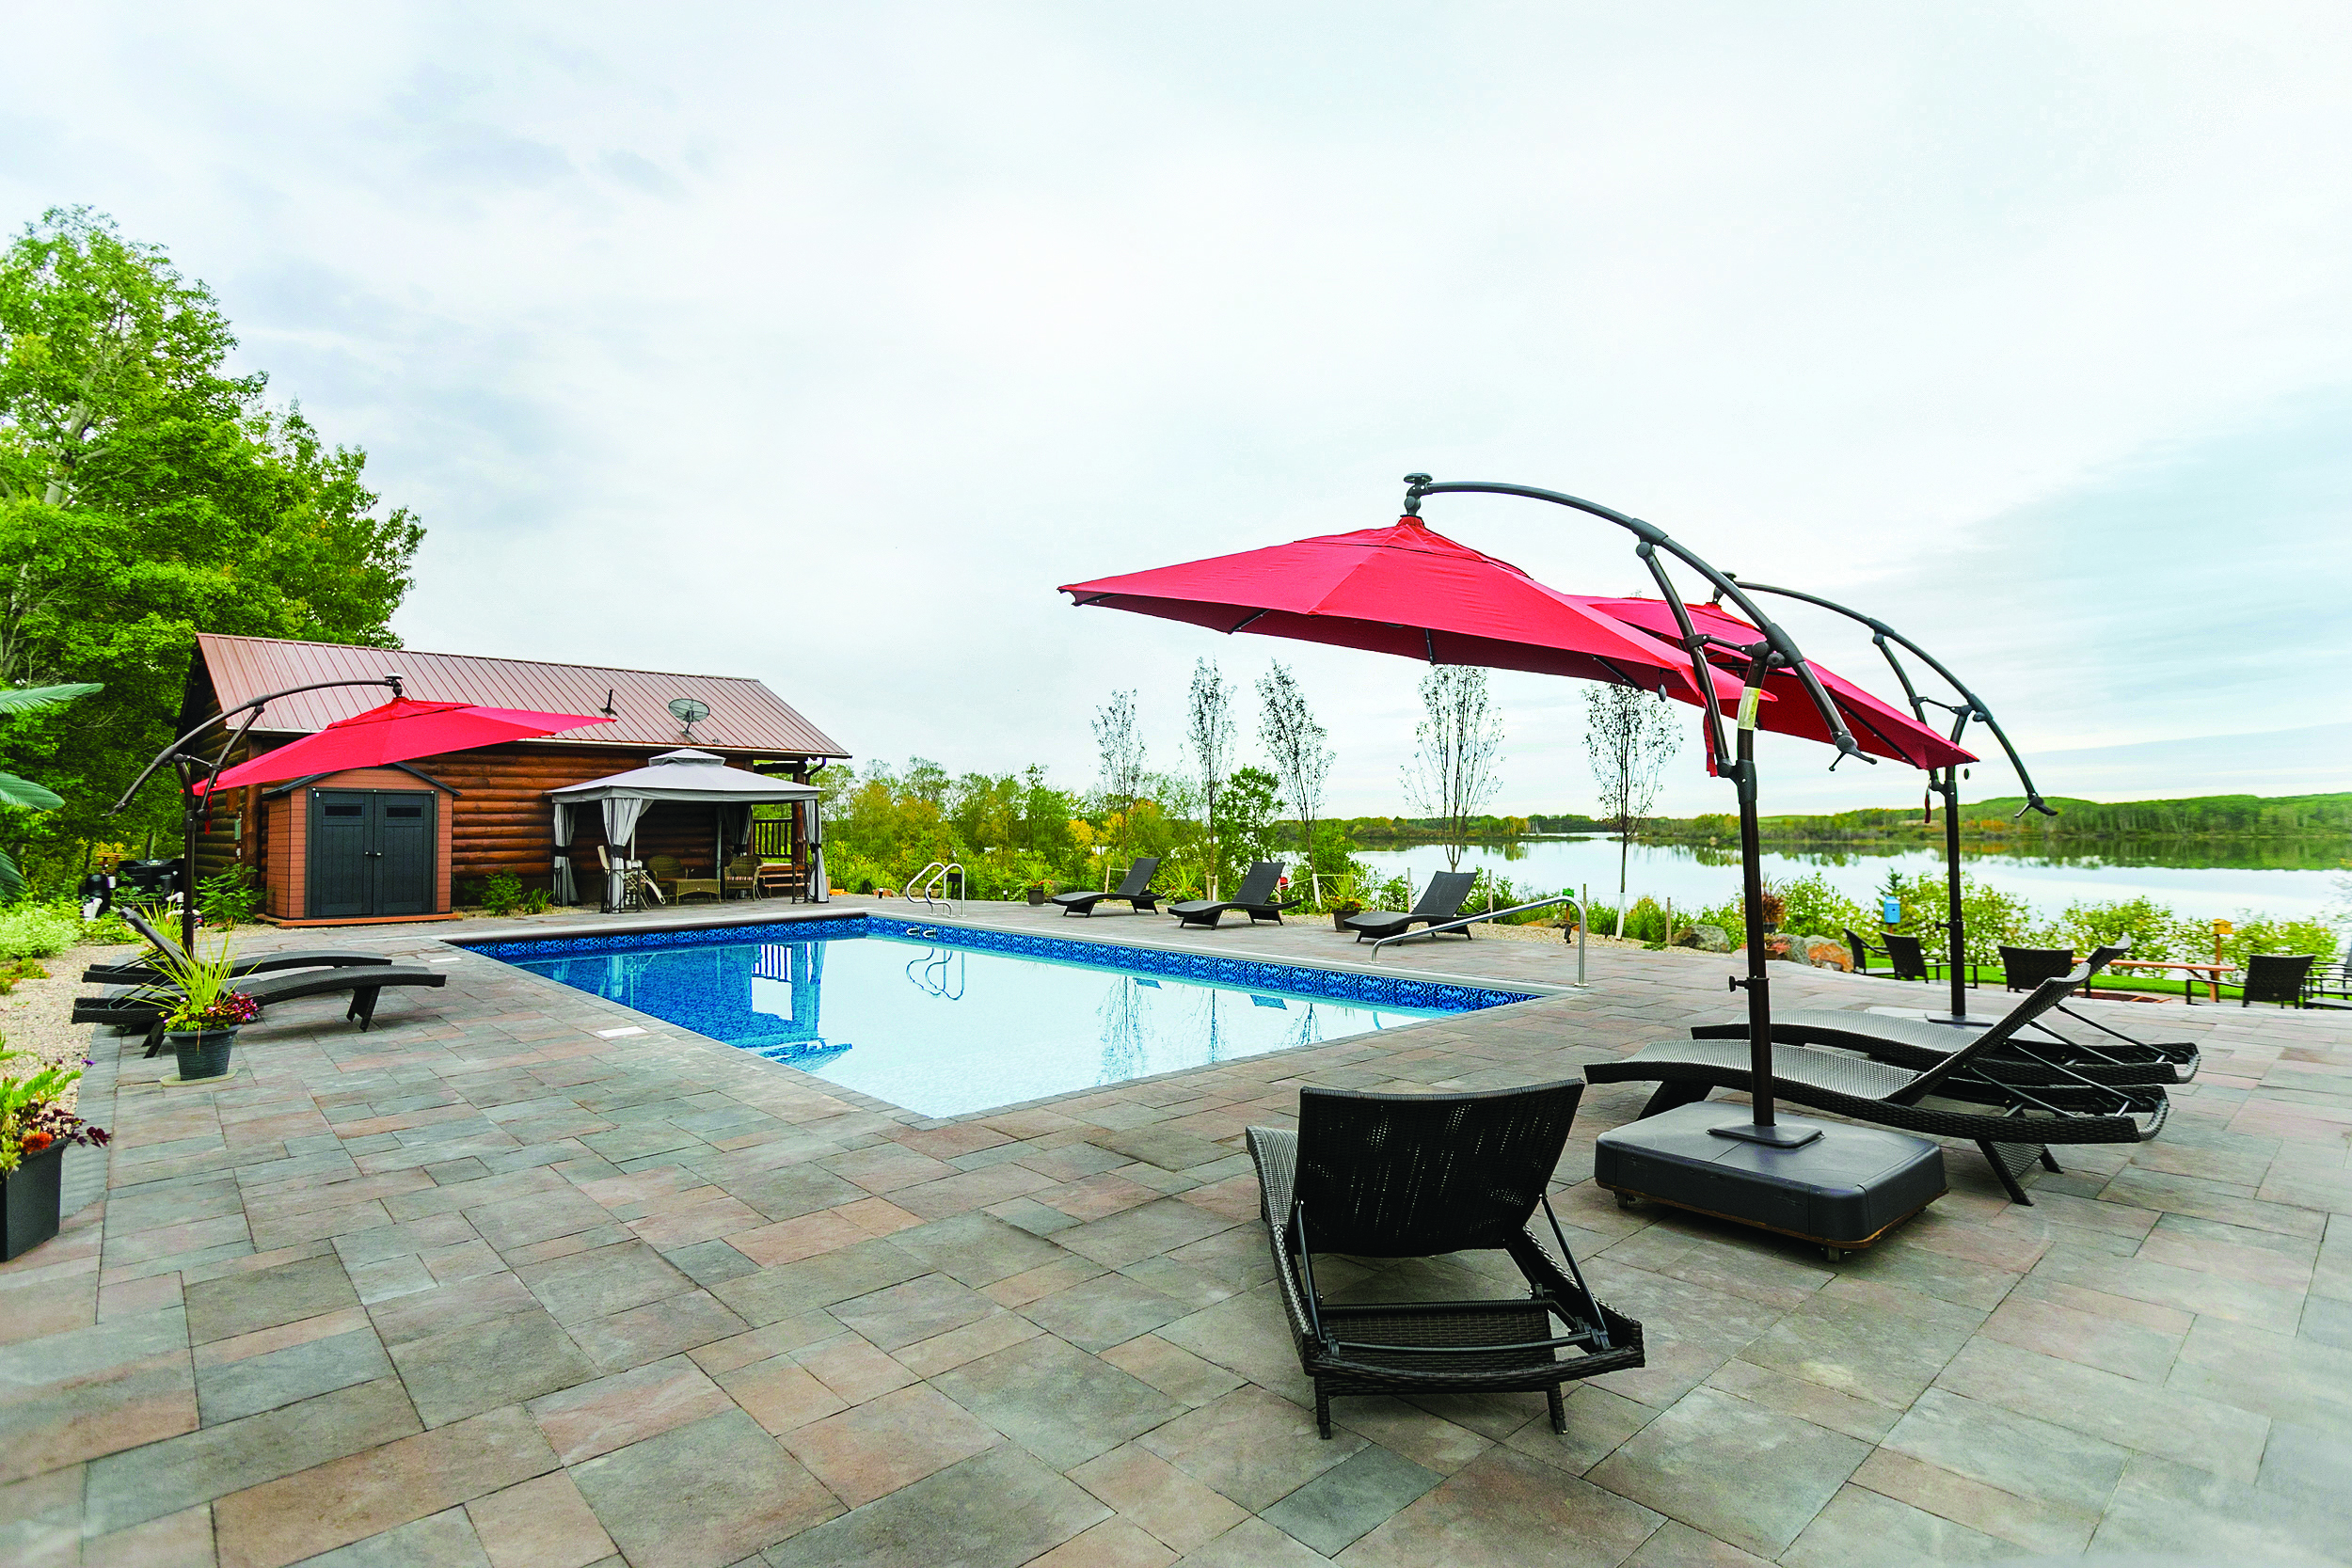
Don’t pour a concrete pool deck! Instead, create a high-end poolside experience with Kastle Flats slabs. This beautiful patio shows the color variations in the Classic Bronze color family. Notice how the colors differ slightly to create yet another unique look.


To learn more about the Kastle Flats slab, or to get a custom quote, visit the product page and contact us today.


Borgert is a Minnesota-based, family-owned company specializing in pavers, patios, driveways and retaining walls. Since 1923, we have been committed to providing high quality products that help our customers dream landscapes become a reality. Get a quote today on your Borgert products.
Read more

Making the Most of a Small Patio

If you’ve browsed Pinterest or Houzz for patio inspiration, you’ve probably seen a lot of images of big, beautiful patios, with a fireplace, large grill, lounge seating and a table for 10. But what if you, like many of us, simply don’t have that kind of space? Smaller patios can still be a comfortable, lovely space to enjoy the warm months. It just may take a bit more creativity.

We’ll share some of our favorite ideas from Houzz. We’d love to see your smaller patios – share ideas and photos on our Facebook page!

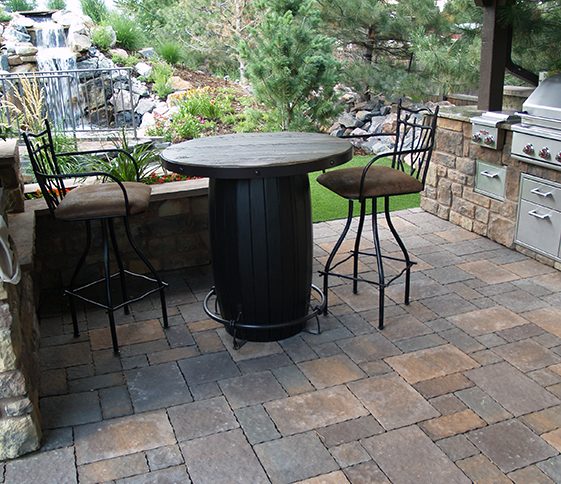
small patio

Use Built-Ins

Turn a wall into a bench to add seating without taking up extra space.

Create Continuity

Using the same pavers on the patio and surrounding spaces (i.e. walkways and steps) will avoid visual disruption, making the patio appear larger than it actually is.

Add Landscape Lighting

Lighting can make a huge difference in the atmosphere of a patio. Use lanterns and stakes at ground level to create ambience without taking up much space.

Scale Furniture Appropriately

If you have a long, narrow patio, choose a table with the same dimensions. You could also push the table against one wall to add space, pulling it out only when you have a larger number of dinner guests.

Consider Café Furniture

A bistro table and chairs won’t take up visual space on a patio, and is easy to fold up and put away when not in use.

Go Vertical

Add greenery without sacrificing space by choosing climbing plants and trellises.

Add Color

Brightly-colored plants, furniture and furnishings will give your patio a unique, sophisticated flair, no matter its size.


Ready to upgrade your patio? Visit our product gallery to find the best pavers for your small patio!

Borgert is a Minnesota-based, family-owned company specializing in pavers, patios, driveways and retaining walls. Since 1923, we have been committed to providing high quality products that help our customers dream landscapes become a reality. Get a quote today on your Borgert products.
Read more

Four Practical Applications for Borgert Pavements

Many think of pavers and pavement products as designed only for patios, walkways and steps. But that’s far from the case. There are several lesser-known applications for Borgert pavements in private and commercial spaces. And by using our versatile, durable products, you can create a space that is unique in appearance and easy to maintain. We’ll discuss a few practical applications for Borgert pavements below, and make sure to visit our project galleries for more ideas and inspiration!

Borgert pavements

Streets

If you’re in a cold climate, you know that spring means potholes. The many freeze-thaw cycles that occur throughout the winter weaken asphalt and cause holes to form. This is not the case when streets are surfaced using pavers. Borgert pavements are flexible to withstand freeze-thaw cycles, and any pavers that do crack or break can be replaced quickly, easily and affordably.

In addition to the practical benefits, there are aesthetic advantages as well. Create a unique, beautiful space, using pavers instead of paint to delineate lines and spaces. The options are endless!

Public Spaces

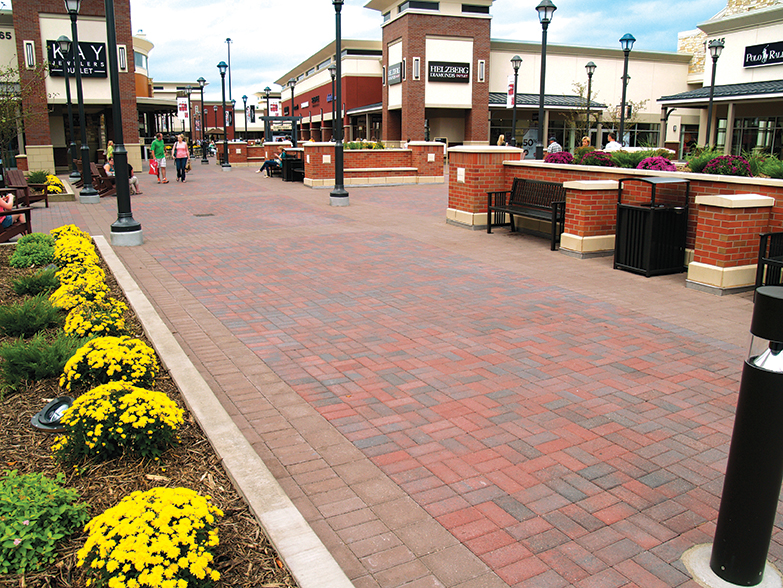
Using pavers in public spaces allows for the creation of unique spaces that can be customized to fit a business or community. Apply pavers in patterns to create a one-of-a-kind design. Our pavements are made to meet the high standards of architects and designers, creating durable and enduring public spaces.

Plazas and Entryways

Create a memorable first impression and elevate the visitor experience with a unique and easily-identifiable entryway or plaza. Our wide selection allows you to complement existing styles with matching colors and designs.

Universities

Use different colors and textures to create unity, consistency and visual appeal throughout campus, increasing aesthetic value while lowering maintenance costs. Pavers can be used to delineate spaces or create designs, creating distinction among departments while maintaining unity.

Ready to discuss pavement options for your commercial project? Give us a call.

Borgert is a family-owned company specializing in pavers, patios, driveways and retaining walls. We are based in Minneapolis and serve the entire Twin Cities metro area and beyond. Since 1923, we have been committed to providing high quality products that help our customers dream landscapes become a reality. Get a quote today on your Borgert products.
Read more

How to Install Interlocking Concrete Pavements

interlocking concrete pavements

Congratulations on your new interlocking concrete pavements! When you’re ready to install, follow these steps for a smooth, uniform look.

Tools Needed:

  • Wooden Stakes
  • Wide blade masons chisel
  • Masons string ( twine)
  • Stiff bristle street broom
  • -5lb. rubber hammer
  • Hard tooth garden rake
  • Chalk Line
  • 25’ ft. measure tape
  • 1” diameter sand screed guides (pipe, wood, etc.)
  • 6’-8’ ft. 2” x 4” or 2” x 6”
  • Small pry bar
  • 4 ft. Level
  • Wheelbarrow
  • Flat shovel

Equipment:

  • 3hp to 5hp plate compactor ( not a jumping jack)
  • Mason Diamond Saw
  • Block/ Paver splitter

Installation:

First measure area you intend to pave. Determine the square footage by multiplying ( length x width= square footage) and add 5% for breakage. Measure lineal feet of open edges and the lineal feet will indicate the PAVE EDGE required. Draw a plan that shows all of the important dimensions and then take this plan to your supplier so that they can help you determine the amount of materials needed for your project.

Use the 3-4-5 triangle method to determine a perpendicular line and then measure parallel lines from the perpendicular line to find a boundary. Place stakes at every 4-6 feet and at corners. These stakes should be 8” outside of the edge of the pavers.

Excavation:

Note: Before any digging, call your local utility companies to locate any underground lines.

Use a flat shovel to cut evenly to remove sod/dirt to a depth of at least 7” to allow room for a 2 ⅜” paver, compacted sand, and a minimum of 4” compacted crushed stone base. If your house has a new foundation, we suggest you increase base thickness to 6” or a total excavation of 9” within 2 ft. of new foundation. Excavation should be 6” wider on sides where the paved edge restraint is to be used.

Base Preparation: Use either ¾” or ½” graded base material that includes sizes down to fine dust.

Method of Compaction: Run your plate compactor over the excavated soil ( the soil should not get stuck on the bottom of the plate compactor). Each pass should overlap the previous one by 4”. Next, spread your gravel base material out evenly in about 2” layers.

Start around the outer perimeter with the plate compactor and again overlap each pass about 4” working towards the center. You should make at least two passes for each layer. Use the hard tooth garden rake to smooth out any unevenness. When you are finished with the base, there should be no more than ¼” maximum gap anywhere along the straight edge and the base.

Slope and Grade:

It is best to plan a ¼” per foot drop, but try not to exceed ½” per foot.

 Sand Setting Bed- ASTM C33: Lay your screen guides ( 1” electrical conduit, 1’ strips of wood or other suitable rigid 1” guide) 4’ ft to 6’ ft apart and parallel. Work from side to side with your screed guides, screed a 10’ section of sand. You will use the 6’ ft. to 8’ ft 2” x 6” to loosely spread the sand and to strike off any excess.

  • Do not walk on your screeded sand. You will fill the voids with sand and trowel them smooth as you are laying the pavers.

Laying the Pavers ( for small areas only)

Starting from a permanent edge, lay your first paver starting from either side ( as you lay your pavers, work right to left, then left to right and so on, one row of pavers at a time). Set the pavers lightly on the sand and allow 6” to pave edge on the open sides later. If you are starting with pave edge, run a string line across the front of the playing edge every 4’ ft.

Set the pavers hand tight, but do not use a hammer to adjust the pavers or set them.

Cutting the Pavers: You will need to cut the pavers if you have to go around a post or come up against an existing structure or where a radius is desired. You do not need to cut on sides where pave edge is installed. Mary any stones to be cut with a crayon or chalk and allow for up to ¼” gap between the stone and the edge. This will be filled with sand later. You should use either a diamond blade mason saw or a paver splitter.

Pave Edge Installation

  1. Before Sand Screeding: Snap chalk line on base material before you screed sand if you are going to start laying your pavers from a pave edge line first. Spike edging so that the chalk line remains visible. Spike every two feet with 10” x ⅜” diameter steel landscape spike.
  2. After Pavers Have Been Laid: Finish placing the pave edge spikes. First, use a trowel and cut straight down the side of the pavers into the sand down to the base ad pull back the sand. Be careful not to scrape up the base material. Placing the edging flat onto the base, push pave edge frost heave lip under the sand, using a hammer to tap against the back of the pave edge until the edging is tight to the pavers. Now, spike the edging approximately every two feet. Pound the spikes in until the head of the spike is touching the edging.
  3. Use Pave Edge Rigid for Straight Areas

 Use Pave Edge Flexible for Curved Areas ( The Final Step)

  1. Sweep any debris or loose sand off of the Pavers
  2. Using a vibratory plate compactor, 3 HP to 5 HP, you should make at least two passes over the pavers. Starting around the perimeter and working inward overlap each pass 2” to 4” inches. Make the second pass at a 45 degree angle to your first. The first pass of the compactor will accomplish:
  • Level the Pavers, compact the sand bedding, and force sand up into the joint
  1. Use a dry medium or coarse washed sand for the joints, spread a thin layer of the jointing sand over the surface. Use a stiff bristle street broom and sweep back and forth over the entire pavement until sand has stopped filling into joints.
  2. Now, alternating between compacting and sweeping, continue to work the material into the joint. If when you make a pass with the plate compactor and no more joints open up, you are then finished.

Congratulations! You have now installed a high quality pavement for your patio or walkway. For maintenance see icpi.org


Borgert is a family-owned company specializing in pavers, patios, driveways and retaining walls. We are based in Minneapolis and serve the entire Twin Cities metro area and beyond. Since 1923, we have been committed to providing high quality products that help our customers dream landscapes become a reality. Get a quote today on your Borgert products.
Read more